This assignment is lab01
If you find typos or problems with the lab instructions, please report them on the #help-lab01 channel on Slack
Goals
This lab checks that you can succesfully create a piece using the techniques shown in the file tutorials/01_SineEnv.cpp in the repo https://github.com/AlloSphere-Research-Group/allolib_playground.
Step 1: Cloning the demo1 repo on your machine
-
Create a directory somewhere on your machine for your work this quarter, and change directory into it. You might called it
allolibfor example, but the name is up to you.mkdir ~/allolib cd ~/allolib(As mentioned above, you can actually use any directory you like; but we suggest this approach. We’ll refer to
~/allolibthroughout the rest of the instructions for consistency.) -
Now, go to the this webpage:
and find your
demo1-useridrepo. The page should look something like this: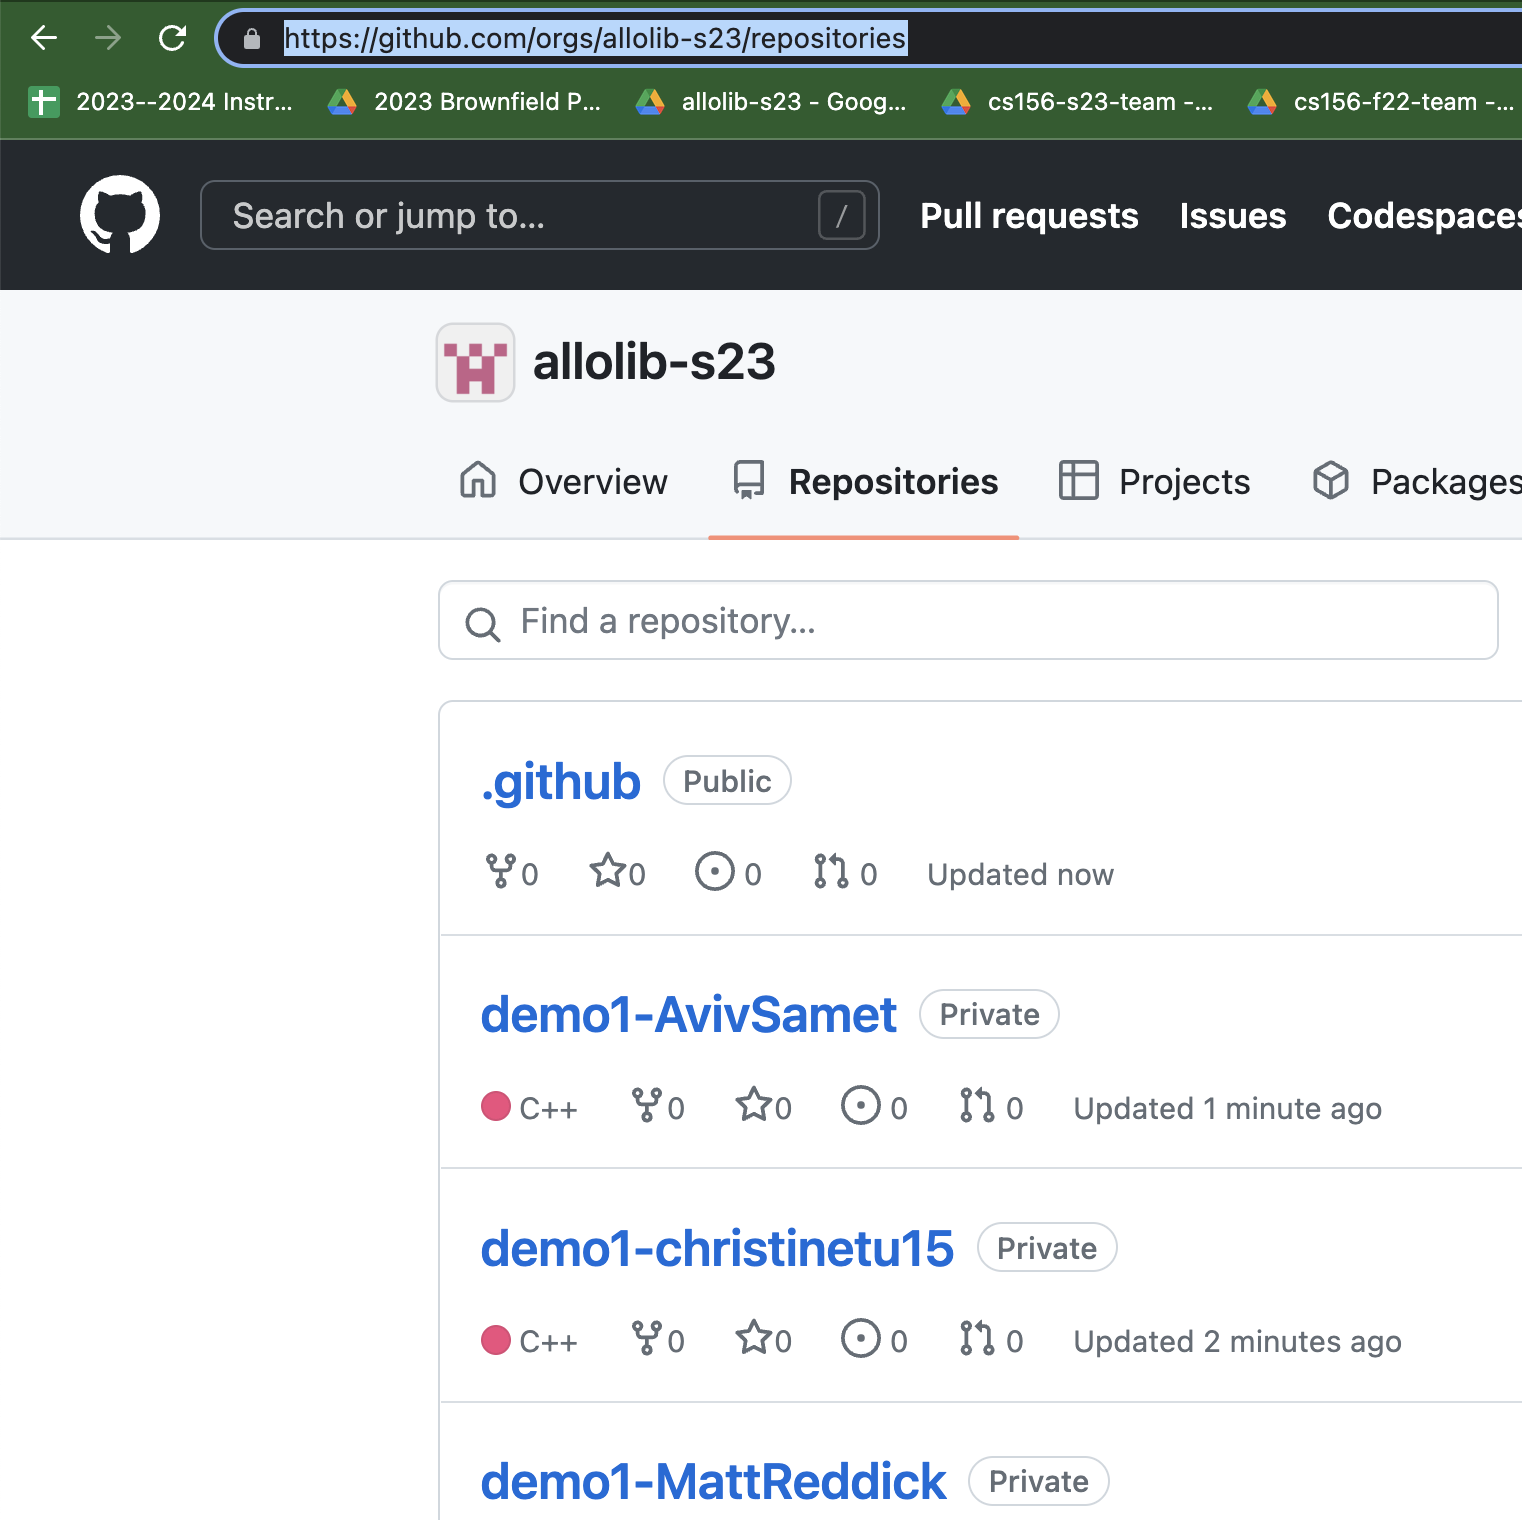
Select your own repo, and you should see something like this:
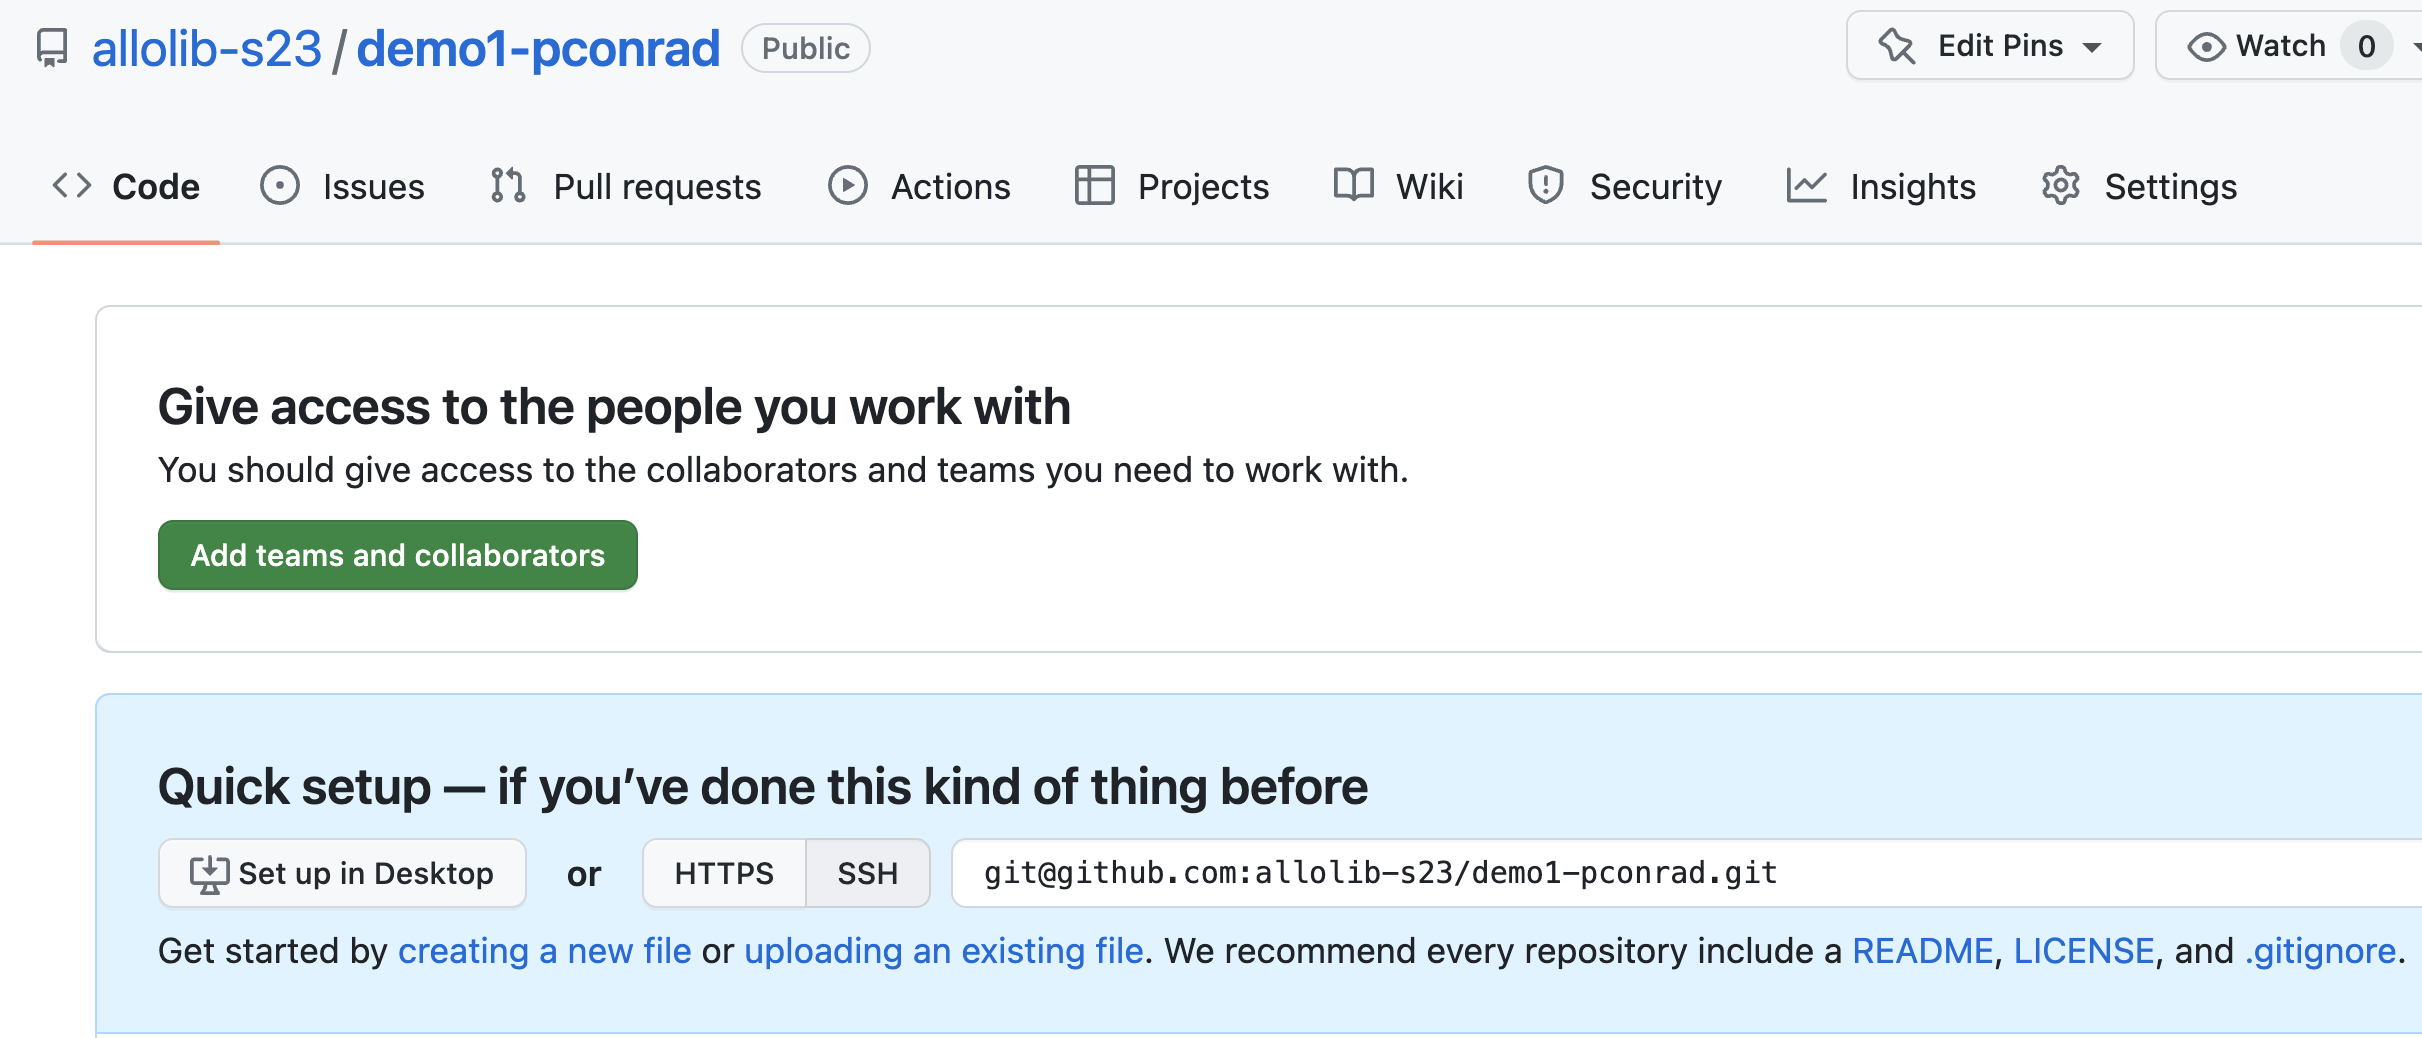
You should see a button for
SSH; select that button. Then there is a button to copy the URL shown; click that to copy the URL. -
Now type this command, replacing
urlwith the url that you copied.That
urlshould be something like git@github.com:allolib-s23/demo1-cgaucho.git but with your GitHub id in place of cgaucho.git clone urlYou’ll will see a warning message that you are cloning an empty repo; that’s normal.
Cloning into demo1-cgaucho…
warning: You appear to have cloned an empty repository -
If you use the
lscommand, you should now have a subdirectory called demo1-cgaucho (except cgaucho will be your GitHub username.) Use acdcommand to change directory into that directory, e.g.cd demo1-cgaucho
An
ls -ashould reveal an empty directory except for the.gitsubdirectory indicating that this is a GitHub repo.% ls -a . .. .git %We are now ready to pull in some starter code.
Step 2: A remote for the starter code (allolib_playground)
The Allolib Playground repo is here: https://github.com/AlloSphere-Research-Group/allolib_playground
If you’ve used git before, you may be familiar with the command:
git pull origin master
The word origin in this case refers to a remote, that is a repo that lives somewhere out there on the network.
The word master refers to the default branch of the repo. The default branch of GitHub repos recently changed from master to main; we’ll be using main throughout this course.
If you type the following command, you’ll see that origin is defined as a remote for the repo that you cloned from. Your output will look similar, except that you’ll have your GitHub in place of cgaucho:
% git remote -v
origin git@github.com:allolib-s23/demo1-cgaucho.git (fetch)
origin git@github.com:allolib-s23/demo1-cgaucho.git (push)
%
Now, we are going to add a second remote. This remote will use the URL for the starter code.
The image below shows how to copy that URL: (1) Click the green Code button. (2) Select SSH to choose that as the network protocol for the URL (3) Click the icon to copy the URL to your clipboard.
Then, use this command to add a remote called allolib-playground for the starter code repo:
- git remote add allolib-playground https://github.com/AlloSphere-Research-Group/allolib_playground
After this command, use git remote -v to list all your remotes. Your output should look like this (except your GitHub id in place of cgaucho):
% git remote -v
origin git@github.com:allolib-s23/demo1-cgaucho.git (fetch)
origin git@github.com:allolib-s23/demo1-cgaucho.git (push)
allolib-playground git@github.com:AlloSphere-Research-Group/allolib_playground.git (fetch)
allolib-playground git@github.com:AlloSphere-Research-Group/allolib_playground.git (push)
%
Step 3: Pull Starter Code into your Repo
The next step is to pull the starter code into your repo, and then push that code to your origin repo on GitHub.
Here are the three commands:
git checkout -b master
git pull allolib-playground master
git push origin master
After these three commands, go look at your repo on GitHub, i.e. the repo at this url (but substituting your GitHub id for cgaucho:)
You should see that instead of an empty repo, you now have a copy of the allolib_playground starter code.
Step 4: Run the 01_SineEnv.cpp demo.
Then:
- If you haven’t already done it, set up the preliminaries needed for Allolib: Follow the instructions here for your platform: https://github.com/AlloSphere-Research-Group/allolib/blob/master/readme.md
- Follow the instructions for getting started with Allolib-Playground: https://github.com/AlloSphere-Research-Group/allolib_playground
- Try running the Sine Wave demo:
./run.sh tutorials/synthesis/01_SineEnv.cpp
Step 5: Make your own!
Copy the 01_SineEnv.cpp demo (or any other file to s23_demo1.cpp.
Now you can start playing with making your own creation!
Troubleshooting
If you find that you are able to run the demos under your original Allolib Playground clone, but it’s not working in the demo1_YOURUSERID repo, try this:
- Delete the
allolibfolder - Run the command again from the Allolib Playground README:
git submodule update --recursive --init